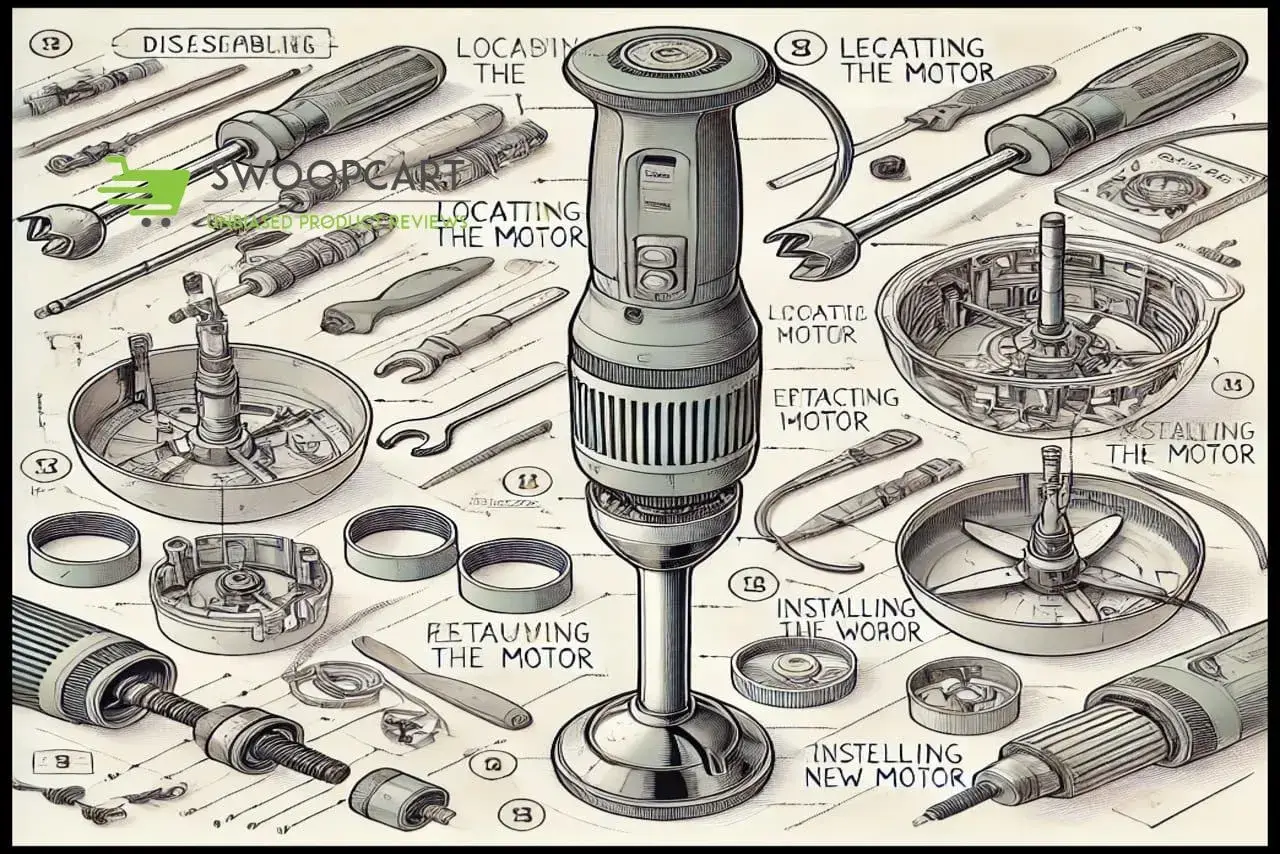
Replacing a hand blender motor might sound like a daunting task, but with the right tools and steps, you can do it yourself.
This guide will walk you through the process, saving you the hassle of buying a new blender or seeking expensive professional repairs.
Did you know that most motor issues stem from overheating or electrical faults that are easily fixable? Let’s dive in and restore your hand blender to its former glory.
Table of Contents
- 1 Replacing the Hand Blender Motor
- 2 Expanded Section: Troubleshooting Issues After Motor Replacement
- 3 Expanded Section: Maintenance Tips to Extend Motor Life
- 4 Enhanced Safety Warnings While Handling Electric Appliances
- 5 Conclusion
- 6 Frequently Asked Questions ( FAQ ) About Replacing a Hand Blender Motor
- 6.1 1. Can I replace a hand blender motor on my own?
- 6.2 2. How do I know if the motor is the problem?
- 6.3 3. Where can I buy a replacement motor for my hand blender?
- 6.4 4. Do I need special tools to replace the motor?
- 6.5 5. How much does a replacement motor cost?
- 6.6 6. How long does it take to replace a hand blender motor?
- 6.7 7. Can I reuse the old motor components?
- 6.8 8. What safety precautions should I follow during motor replacement?
- 6.9 9. What should I do if the blender doesn’t work after replacing the motor?
- 6.10 10. How can I prevent future motor damage?
- 6.11 11. Is it worth replacing the motor, or should I buy a new blender?
- 6.12 12. Can I replace the motor of a cordless hand blender?
Replacing the Hand Blender Motor
Understanding the Basics of Hand Blender Motors
Let’s start with the core of the matter—your hand blender’s motor. This tiny powerhouse is responsible for converting electrical energy into the spinning motion that powers the blades. When it fails, you might notice issues like the blender not turning on, inconsistent speeds, or even a burning smell during use. These are signs the motor has likely reached its end.
Now, before rushing to buy a replacement, check your blender’s model and specifications. Motors are not universal, so you’ll need a compatible one. It’s also worth noting that many motor issues stem from overheating, which is preventable by blending in short bursts rather than running the blender continuously.
Tools and Materials Needed for Motor Replacement
Before diving into the repair, gather the following:
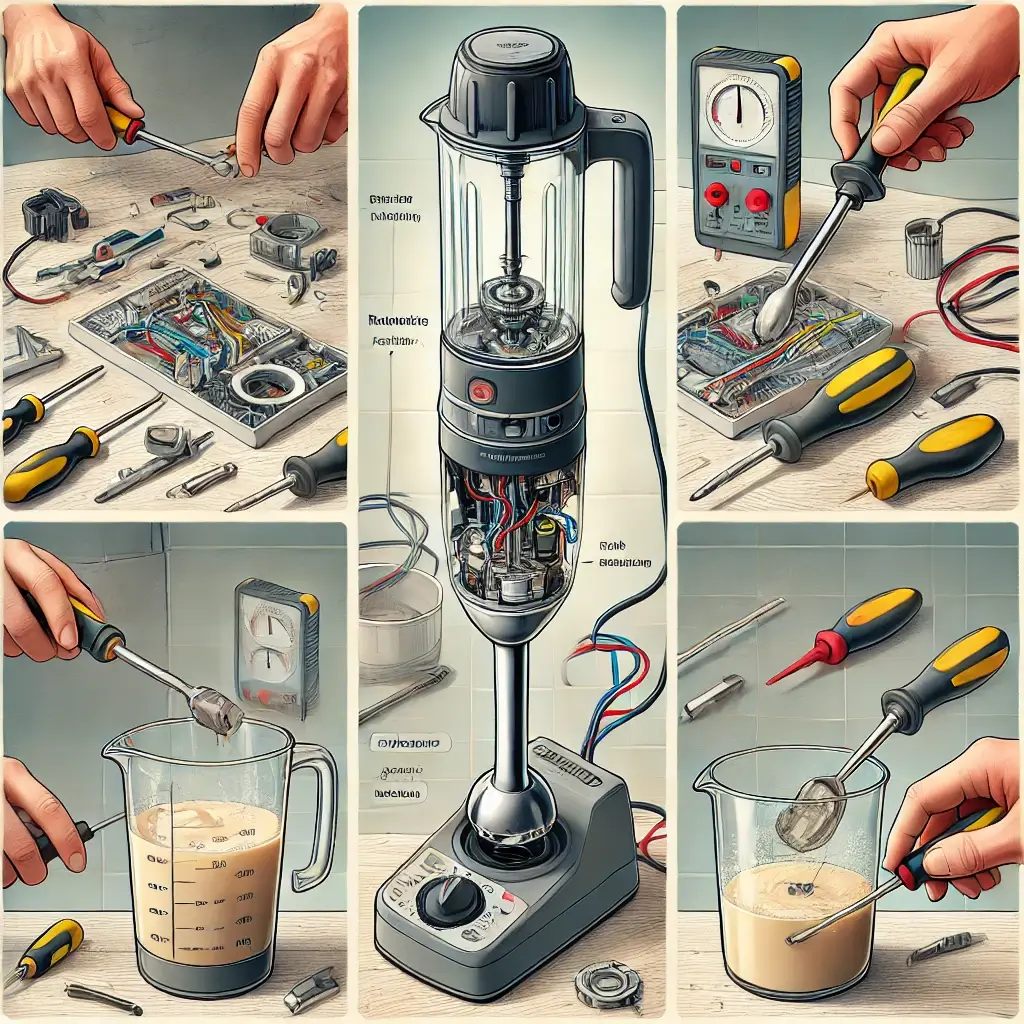
- Tools: A screwdriver set (preferably with precision tips), a soldering iron, and a multimeter to check for electrical continuity.
- Materials: A compatible replacement motor for your hand blender model. You can often find these on manufacturer websites or e-commerce platforms like Amazon.
- Safety Equipment: Insulated gloves and goggles to protect yourself from accidental shocks or debris.
Pro Tip: Work in a well-lit, clean workspace and keep small screws in a container to avoid losing them.
Step-by-Step Guide to Replacing the Motor
- Unplug the Blender: Always ensure the appliance is disconnected from any power source before starting. Safety first!
- Disassemble the Blender Casing: Using your screwdriver, carefully remove all screws holding the blender casing together. If it’s your first time, take photos of each step for easy reassembly.
- Locate the Motor: Inside, you’ll find the motor attached to wires and often seated on a small bracket. Note how the motor is connected to avoid confusion later.
- Detach the Motor: Using your screwdriver or soldering iron, carefully disconnect the motor from its wiring. Be patient—this step can be tricky if wires are tightly soldered.
- Install the New Motor: Align the replacement motor with the existing brackets and wiring. Connect the wires securely, ensuring no loose connections. Use a soldering iron if needed, but avoid overheating the terminals.
- Reassemble the Blender: Once the motor is in place, reattach the casing and secure it with screws. Double-check that everything is aligned correctly.
- Test the Blender: Plug it in and run it at low speed first. If everything works as expected, congratulations—you’ve successfully replaced the motor!
Troubleshooting Issues After Motor Replacement
Sometimes, things don’t go as planned. If the blender doesn’t power on, check the following:
- Loose Connections: Reopen the casing and ensure all wires are firmly attached.
- Faulty Wiring: Use a multimeter to test the continuity of the wires. Replace any that are damaged.
- Motor Alignment: Verify that the motor is properly seated and not obstructing other components.
If the issue persists, it’s okay to consult a professional—better safe than sorry!
Maintenance Tips to Extend Motor Life
A little care goes a long way in preventing future motor issues:
- Blend in Short Bursts: Overheating is a common cause of motor failure. Let the blender rest between uses.
- Clean Regularly: Remove food particles from attachments and casing to avoid clogging or debris buildup.
- Proper Storage: Store your blender in a dry, safe place to prevent rust or moisture damage.
Expanded Section: Troubleshooting Issues After Motor Replacement
If your hand blender doesn’t work after replacing the motor, don’t panic—most issues are simple to resolve. Here’s a more detailed guide to troubleshooting:
- Check Power Supply:
- Ensure the outlet is functioning by testing it with another appliance.
- Examine the power cord of the blender for cuts or damage that might prevent electricity from reaching the motor.
- Inspect Motor Connections:
- Open the casing again to double-check the wiring. Loose or improperly soldered wires are a common culprit.
- Ensure the wires are connected to the correct terminals on the motor. If needed, refer to the photo or diagram you took during disassembly.
- Examine the On/Off Switch:
- The issue might lie in the blender’s switch rather than the motor. Use a multimeter to test for continuity. If the switch is faulty, you may need to replace it.
- Listen for Noise:
- If the motor hums but the blades don’t turn, it could indicate a jam in the coupling or blade mechanism. Disassemble these parts and clean out any debris.
- Check Motor Alignment:
- Misalignment during installation can cause the motor to not spin freely. Adjust it so that it sits perfectly in its designated brackets.
- Fuse or Circuit Board Issues:
- Some blenders have built-in fuses or circuit boards for protection. If these are damaged, the motor won’t receive power. Replace the fuse or inspect the circuit board for burns or cracks.
If you’ve gone through all these steps and the problem persists, consider seeking professional help or contacting the manufacturer for advice.
Expanded Section: Maintenance Tips to Extend Motor Life

Protecting the motor in your hand blender can prevent future breakdowns and extend its lifespan. Here’s a deeper dive into effective maintenance practices:
- Use the Right Speed Settings:
- Avoid max speed for hard or thick ingredients like frozen fruits or dough. Use lower settings to reduce strain on the motor.
- Blend in Batches:
- Don’t overload your blender with too many ingredients at once. This forces the motor to work harder and can cause overheating.
- Cool-Down Periods:
- After blending continuously for 1–2 minutes, let the motor rest for a few minutes. This is particularly important for less powerful models.
- Regular Cleaning Routine:
- Exterior: Wipe the blender body with a damp cloth to remove spills.
- Attachments: Detach blades and shafts to clean thoroughly. Avoid immersing the motorized part in water.
- Ventilation Holes: Ensure the motor’s air vents are free of dust and food particles, as blockages can lead to overheating.
- Avoid Immersion in Water:
- While cleaning, keep the motor housing away from water or liquids. Moisture can short-circuit internal components.
- Store Properly:
- Keep the blender in a dry, cool place. Use its original box or a padded drawer to protect it from accidental drops.
- Use Compatible Accessories:
- Only use manufacturer-approved accessories or attachments. Using incompatible parts may stress the motor.
- Inspect Regularly:
- Check for wear and tear on cords, plugs, and buttons. Address small issues promptly to avoid bigger problems later.
By following these tips, you’ll not only keep your hand blender running smoothly but also enjoy consistent performance for years.
Enhanced Safety Warnings While Handling Electric Appliances
When working with electrical appliances like a hand blender, safety is paramount. Here are essential safety precautions to consider before, during, and after replacing the motor:
Before Starting Repairs
- Unplug the Appliance:
- Always disconnect the blender from the power source before disassembly to avoid electric shocks.
- Double-check that the plug is out of the outlet—accidental contact with live wires can be dangerous.
- Inspect the Power Cord:
- Examine the cord for cuts or exposed wires. If damaged, replace or repair it before proceeding.
- Gather Insulated Tools:
- Use tools with insulated handles to protect against accidental contact with electrical components.
- Work in a Safe Environment:
- Choose a clean, dry workspace. Avoid working near water or damp areas.
- Ensure good lighting to clearly see small components.
During Repairs
- Handle the Circuitry with Care:
- Avoid touching exposed wires or terminals directly. Use gloves for added protection.
- Discharge Capacitors:
- If your blender has capacitors (common in high-power models), discharge them using a resistor to prevent sudden electric shocks.
- Avoid Forcing Components:
- If a part seems stuck, check for hidden screws or clips rather than forcing it. Applying too much pressure can damage internal components.
- Keep Parts Organized:
- Use small containers or labeled compartments for screws and small components. This minimizes the risk of losing them and ensures safe reassembly.
- Test with Caution:
- After replacing the motor, plug in the blender for testing only when all casing is securely closed to prevent accidental contact with moving or live parts.
After Completing Repairs
- Perform a Safety Check:
- Inspect the casing to ensure all screws are tightened and there are no gaps.
- Test the blender at the lowest speed to confirm safe operation.
- Dispose of Old Components Safely:
- Recycle the old motor and other electronic waste at a certified facility to protect the environment.
- Monitor Initial Use:
- During the first few uses after repair, monitor the blender for unusual sounds, smells, or overheating. Stop immediately if you notice any issues.
General Appliance Safety Tips
- Avoid DIY Repairs for Complex Issues:
- If your blender has extensive internal damage or uses advanced electronics (e.g., digital controls), consult a professional repair technician.
- Keep Appliances Away from Children:
- Store tools and disassembled parts out of reach of children to prevent accidents.
- Invest in a Surge Protector:
- Protect your appliances from voltage spikes that could damage internal components.
Conclusion
Fixing your hand blender motor isn’t just cost-effective—it’s satisfying. With the right tools and a bit of patience, you can save your favorite kitchen gadget from the trash and keep it running like new. Whether you’re blending soups, smoothies, or sauces, your efforts will pay off in the long run.
Have you tried replacing a hand blender motor? Share your experience and tips in the comments below. Let’s keep the DIY spirit alive.
Frequently Asked Questions ( FAQ ) About Replacing a Hand Blender Motor
1. Can I replace a hand blender motor on my own?
Yes, if you have basic knowledge of electrical appliances and follow safety precautions, you can replace the motor yourself. However, if the blender is under warranty or the repair seems complicated, consulting a professional is a safer option.
2. How do I know if the motor is the problem?
Common signs of motor failure include:
- The blender doesn’t turn on.
- There’s a burning smell or smoke while using it.
- The motor produces strange noises, like grinding or humming.
- The blades spin inconsistently or not at all.
3. Where can I buy a replacement motor for my hand blender?
You can find replacement motors online on e-commerce platforms, at electronics spare parts stores, or through the manufacturer. Make sure the motor matches the specifications of your blender model.
4. Do I need special tools to replace the motor?
Basic tools you’ll need include:
- Screwdrivers (flathead and Phillips)
- Soldering iron and solder (for wire connections)
- Multimeter (to test continuity and voltage)
- Insulated pliers
Using proper tools ensures safety and accurate repairs.
5. How much does a replacement motor cost?
Motor prices vary depending on the brand and model of your blender. Generally, they range between ₹1000 and ₹4500. Factor in shipping costs if ordering online.
6. How long does it take to replace a hand blender motor?
If you have all the tools and parts ready, the replacement process typically takes 30 minutes to an hour. Additional time may be required for testing and troubleshooting.
7. Can I reuse the old motor components?
It depends on the condition of the motor. Sometimes, parts like bearings or brushes can be reused if undamaged. However, replacing the entire motor is usually more reliable.
8. What safety precautions should I follow during motor replacement?
Key safety tips include:
- Always unplug the blender before starting.
- Avoid touching live wires or components.
- Use insulated tools and gloves for protection.
- Test the blender only after reassembling the casing.
9. What should I do if the blender doesn’t work after replacing the motor?
If the blender still doesn’t function, check the following:
- Verify that all wires are connected securely.
- Inspect the power cord and on/off switch for faults.
- Ensure the motor is properly aligned and the casing is sealed.
- Test the appliance with a multimeter to pinpoint any issues.
10. How can I prevent future motor damage?
- Avoid overloading the blender with tough or excessive ingredients.
- Allow the motor to cool down between uses.
- Clean and maintain the blender regularly to prevent debris buildup.
- Use the correct speed setting for each task.
11. Is it worth replacing the motor, or should I buy a new blender?
If the cost of repair (including the motor and tools) is less than 50% of the price of a new blender, repairing is usually worth it. However, for older models or heavily damaged units, upgrading to a new blender may be more cost-effective.
12. Can I replace the motor of a cordless hand blender?
Cordless hand blenders are more complex due to their batteries and integrated electronics. While motor replacement is possible, it may require advanced skills. Consider professional assistance for such models.
Read Also: Uses of a Hand Blender

